Marker Menu
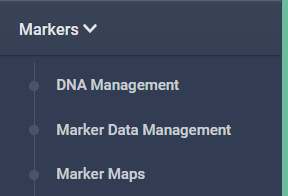
When markers are available for the KDDart implementation and configuration being used, KDManage will display the Marker Menu as seen below:
The topics in this section are as follows:
Genotyping Marker Process
The steps for preparing, ordering and storing genotypic analysis data in KDDart are described in the following table:
Note
Bold items within the Action Column represent menu/selection text.
| Step | Activity | Action |
|---|---|---|
| 1. | Define a group of samples for genotyping. | Select KDManage > Marker > Marker Data Management > Add Marker Data Management. |
| 2. | Download file (equivalent to the sample tracking file for the Online Ordering) | Select the  Download Button. Download Button. |
| 3. | Submit the sample tracking file for the order in the Online Ordering system. | Optional genotyping service (i.e. DArT) |
| 4. | Prepare specification, submit file, sign, pack and ship DNA. | “ |
| 5. | Genotyping service performs DNA analysis | “ |
| 6. | Genotyping service notification that results are ready | “ |
There are three choices to download marker datasets, depending on the KDDart configuration:
| Step | Activity | Action |
|---|---|---|
| 1. | Import via KDManage. | Select KDManage -> Marker -> Marker Data Management -> Upload dataset file for Marker Data Management 9 |
| Step | Activity | Action |
|---|---|---|
| 1. | Log into the Online Ordering and download the result file to a local/network location. | “ |
| 2. | Use KDCompute to upload the result file to the KDCompute server for processing | Select KDCompute -> File Manager -> Upload Files -> Select file and upload |
| 3. | Use KDCompute to import the data into KDDart | Select KDCompute -> Submit a Job - > Import/Export Marker Data -> Import Marker Data -> Complete the form and submit the job |
| 4. | Check job status for successful import | Select KDCompute -> File Manager -> submitted_jobs -> select job number -> download and view file(s) |
| Step | Activity | Action |
|---|---|---|
| 1. | Retrieve Authentication Token and Order ID from vendors. | This step may vary depending on choice of vendor. |
| 2. | Use Collect Order to import dataset. | Select KDManage -> Marker -> Marker Data Management -> Collect Order |
Note
DArT provides an optional genotyping/profiling service.
DNA Management
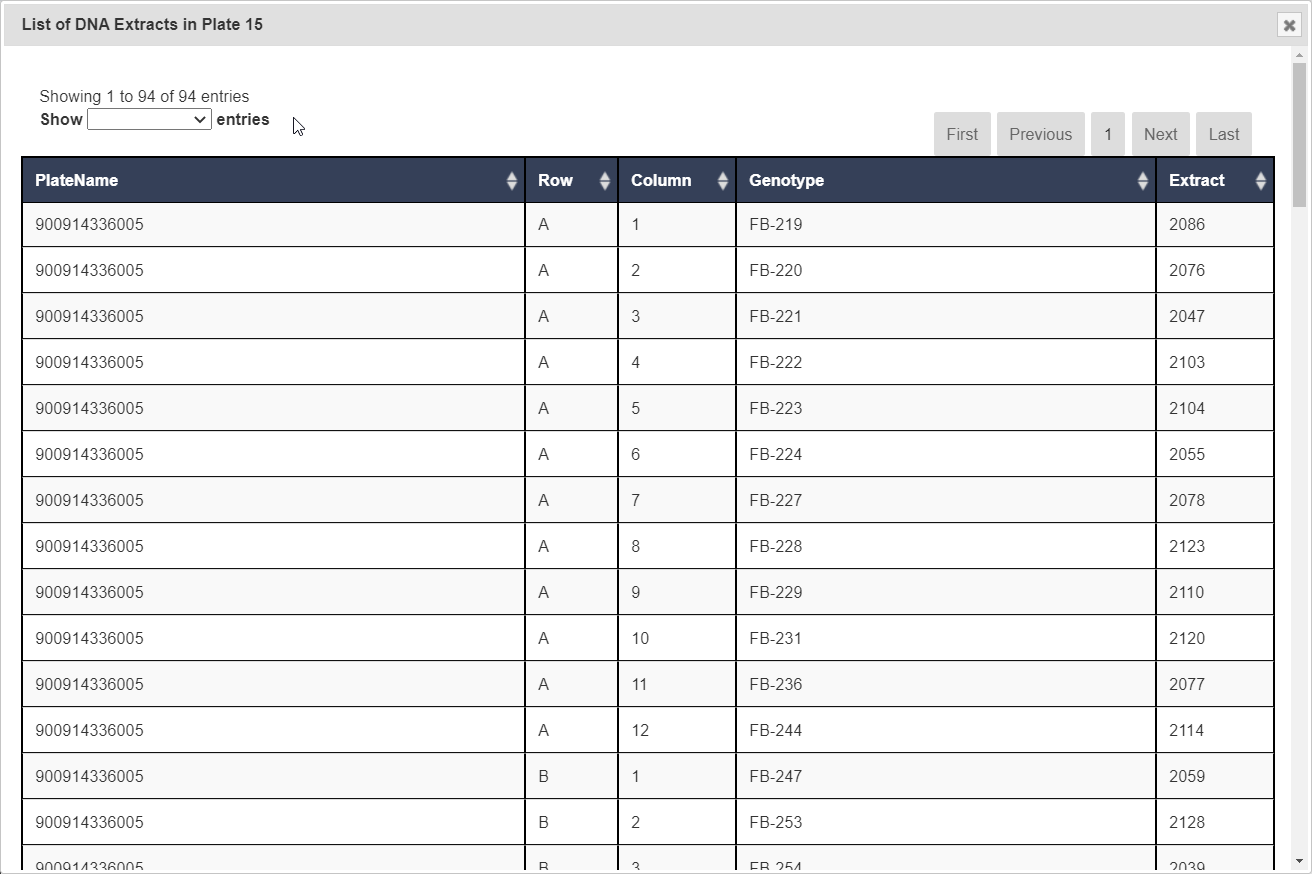
The DNA Management Page lists DNA plates that have been uploaded to KDDart.

Selecting the  List Button for any plate will display a Plate Window which lists extracts that are associated with that plate (pictured below).
Adding a DNA Plate
To add a new DNA plate, select the Add DNA Plate Button located on the DNA Management Page. This will display the Add DNA Plate Window as shown in the image below:
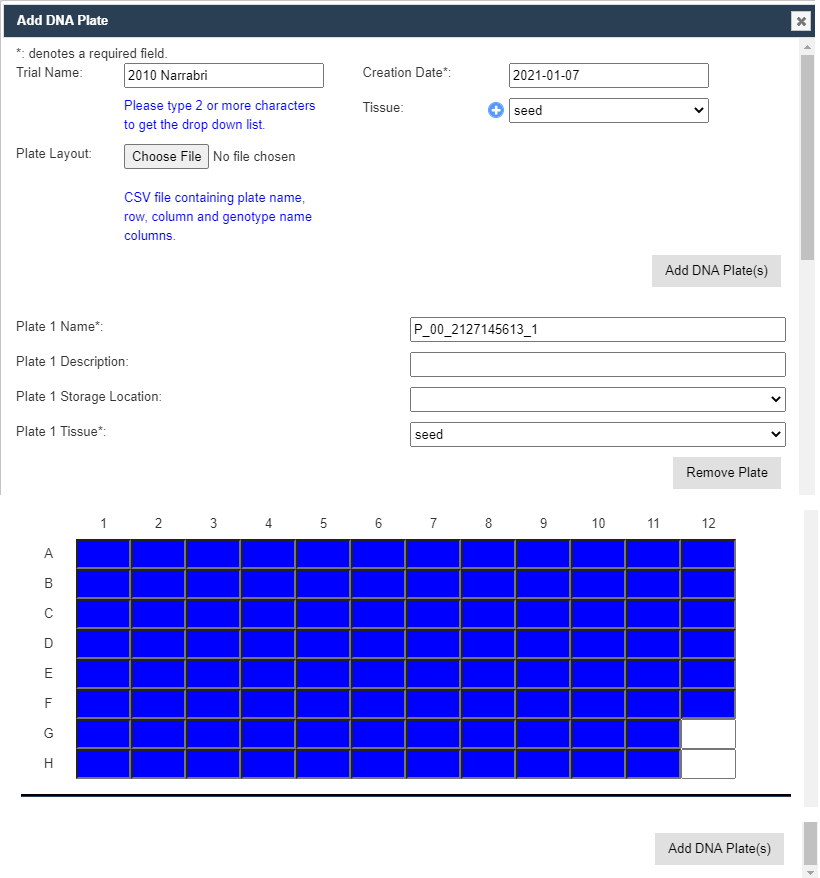
Field descriptions to assist with completing the form are displayed in the following table:
| Field | Mandatory? | Description |
|---|---|---|
| Trial Name | Mandatory | Trial that this plate is associated with. Upon selecting an existing trial, this will display the relevant plates to this trial. |
| Creation Date | Mandatory | Date the genotyping service was created. |
| Plate Layout | CSV file containing plate name, row, column and genotype name columns. | |
| Tissue | Mandatory | Tissue used in this plate. |
Plates as in the following illustration may be removed using the Remove Plate button at the bottom left.
Also, individual cells may be edited or removed as required. The image and table below contain more information:
| Field | Mandatory? | Description |
|---|---|---|
| Plate 1 Name | Mandatory | Name for this iteration of plate. |
| Plate 1 Description | Description of the plate. | |
| Plate 1 Storage Location | Location where the plate is stored. | |
| Plate 1 Tissue | Tissue used in these plates. |
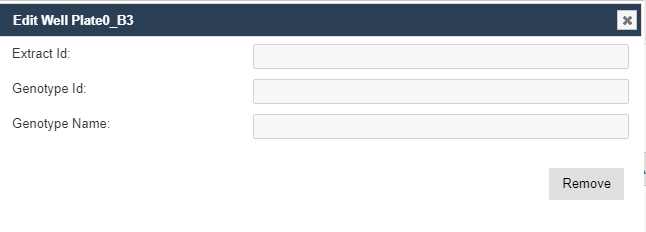
Editing a Well Plate
Selecting a well will display the Edit Well Plate Window, as displayed in the following image, where the well may be edited or removed using the buttons on the window.
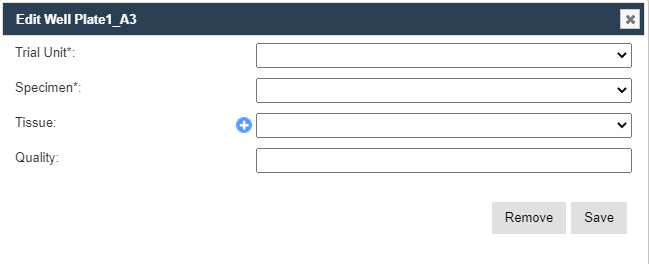
Note
Hovering the mouse above a well will display the trial unit position and the specimen name.
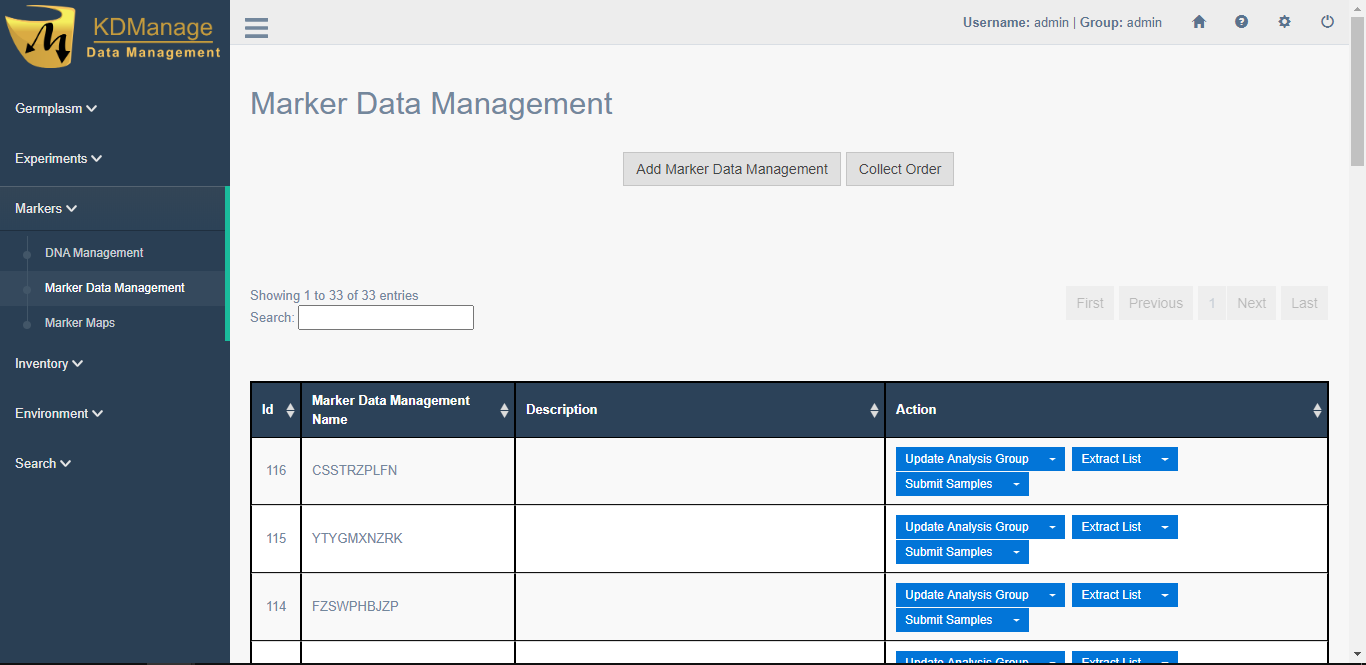
Marker Data Management
The Marker Data Management Page lists marker datasets that have been imported to KDDart and provides options for managing them including viewing, editing, and submitting samples.
Adding Marker Data Management
To add a new marker data management genotyping/profiling entry, select the Add Marker Data Management Button located on the Marker Data Management Page to display the Add Marker Data Management Window:
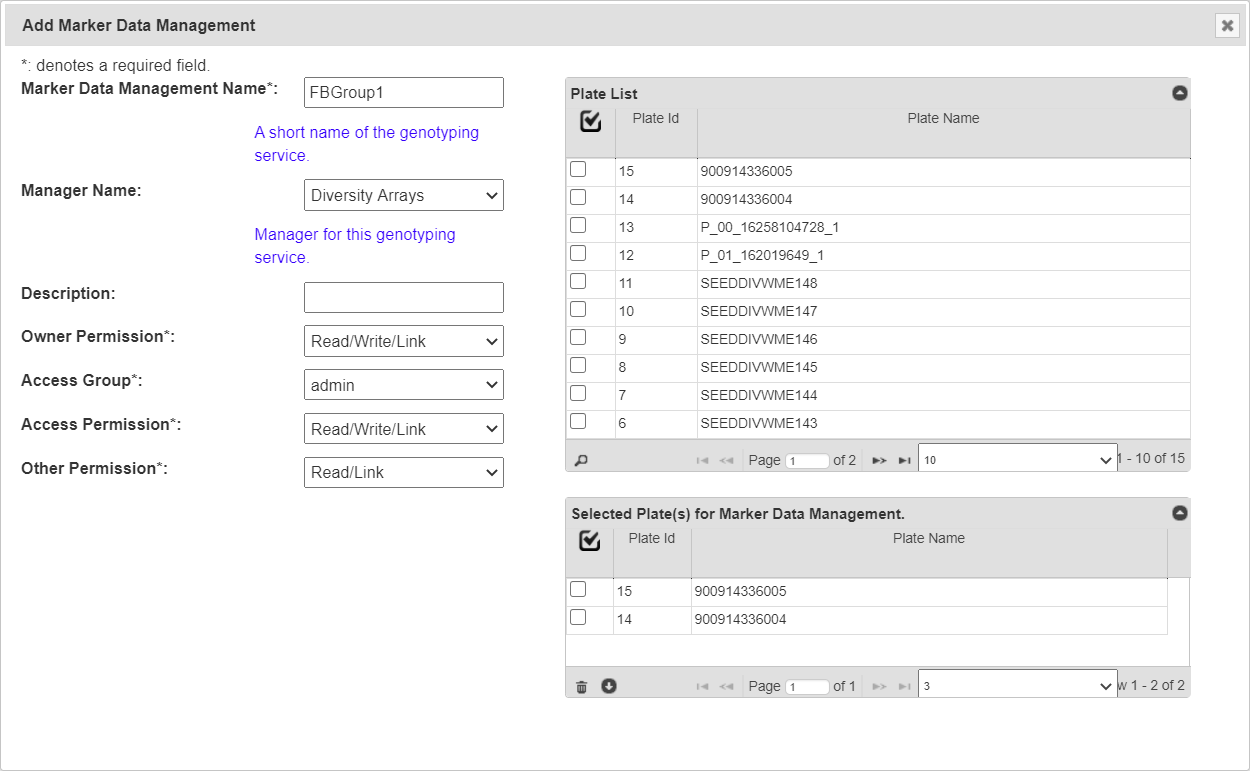
Field descriptions to assist with completing the form are displayed in the following table:
| Field | Mandatory? | Description |
|---|---|---|
| Marker Data Management Name | Mandatory | Text string to describe the genotyping service. |
| Description | Additional description of the genotyping service. | |
| Manager Name | A designated manager for the genotyping service who is defined in KDDart Contacts. | |
| Selected plates | Mandatory | Plates from DNA management selected for this marker data. Drag and drop plates from the Plates List to add specific plates to this marker data. |
| Access Fields | Mandatory | Access and permissions. See the Access Settings and Permissions topic. |
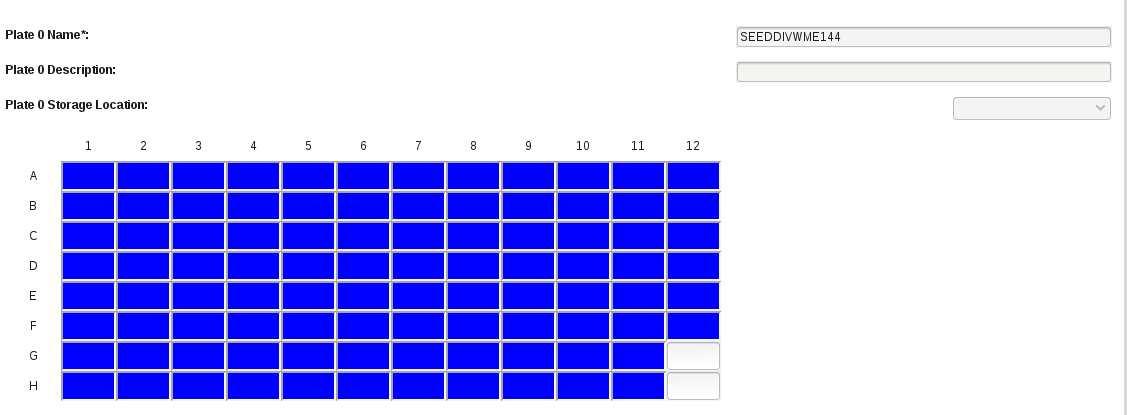
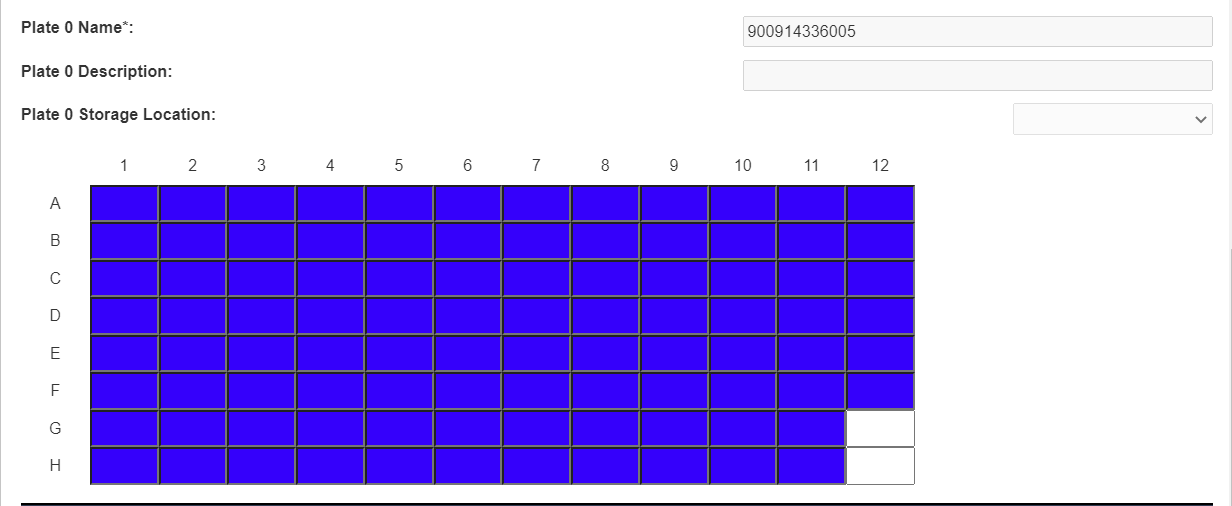
Each plate that is selected will be displayed in the window. See the image and table below for more information:
| Field | Mandatory? | Description |
|---|---|---|
| Plate 1 Name | Mandatory | Name for this iteration of plate. |
| Plate 1 Description | Description of the plate. | |
| Plate 1 Storage Location | Location where the plate is stored. |
Plates as in the following image may be removed using the Remove Plate button at the bottom left of Plates List
Note
Hovering the mouse above a well will display the trial Unit position and the specimen name.
Editing a Well Plate
Selecting a well will display the Edit Well Plate Window (as displayed in the following image) where the well may be edited or removed using the buttons on the window.
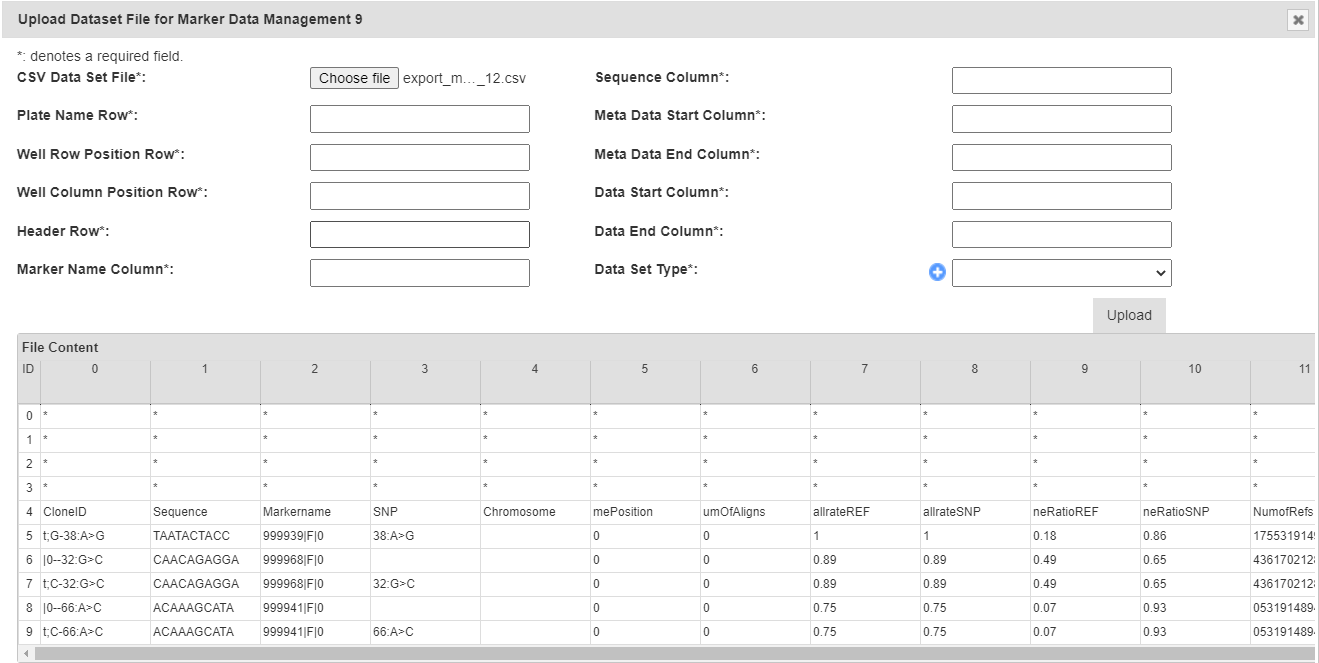
Upload Dataset File
To upload a new dataset to a marker data management group, select “Upload Dataset File” (under  dropdown) in the Actions Column for the required group. This will display the Upload Dataset File Window. The window and a table that describes the related fields can be found below:
Note
For referencing the CSV file contents, column and row numbering commences with zero.
Tip
After selecting a file to upload, the file contents will be displayed underneath the form. This can be used to refer to the correct columns as required.
| Field | Description |
|---|---|
| CSV Data Set File | Browse to locate and select the appropriate CSV file for import. |
| Plate Name Row | The row that contains the plate names. |
| Well Row Position Row | The row that contains the well row positions. |
| Well Column Position Row | The row that contains the well column positions. |
| Header Row | The row that contains the headers. |
| Marker Name Column | The column that contains the marker names. |
| Sequence Column | The column that contains the sequences. |
| Meta Data Start Column | The first column in the CSV file containing meta data for import. |
| Meta Data End Column | The last column in the CSV file containing meta data for import. |
| Data Start Column | The first column in the CSV file containing data for import. |
| Data End Column | The end column in the CSV file containing data for import. |
| Data Set Type | The type of dataset, as defined in type definitions. |
Collecting an Order
To collect a completed order and create relevant data points, select the Collect Order Button located on the Marker Data Management Page. This will display the Collect Order Window which is pictured below, along with a table that describes the relevant fields:
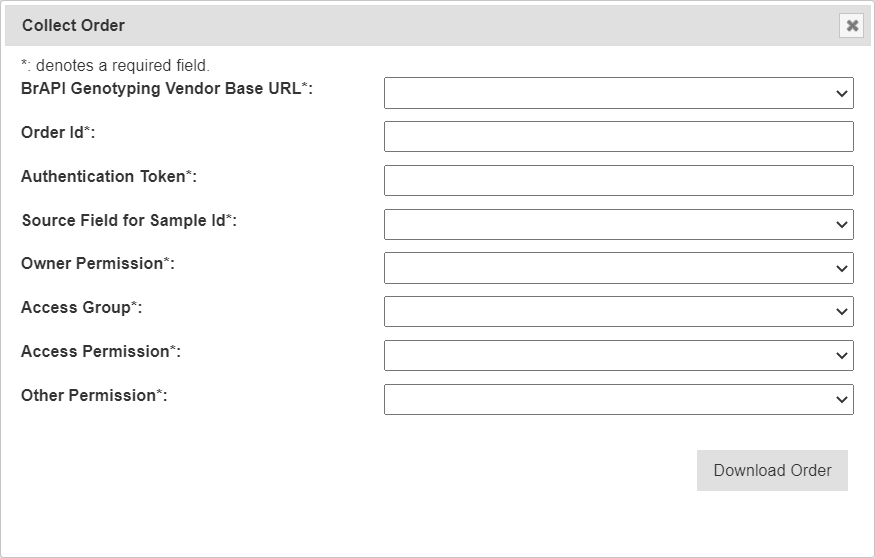
Note
This feature requires system administrator set up, including the creation of relevant types and KDManage system configuration.
| Field | Mandatory? | Description |
|---|---|---|
| BrAPI Genotyping Vendor Base URL | Mandatory | Select the vendor BrAPI URL. |
| Order ID | Mandatory | Full Order ID of completed order for import. |
| Authentication Token | Mandatory | Authentication token from genotyping vendor. |
| Source Field for Sample ID | Mandatory | KDDart entity that will be created or linked to sample ID. |
| Access Fields | Mandatory | Access and permissions. See the Access Settings and Permissions topic. |
Printing Barcodes for Marker Data
To download a set of barcodes for the Marker Data Management group, select “Print Barcodes” (under  dropdown) in the Action Column for the required group in the Marker Data Management Page.
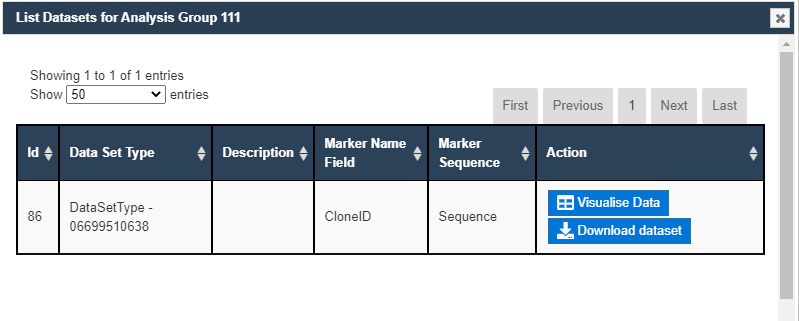
List Marker Datasets of Group
To list all datasets in a group, select  List Datasets in the Actions Column for the required group in the Marker Data Management Page.
Visualising a Dataset with a Heatmap
To visualise a dataset with a heatmap, select 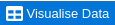 Visualise Data in the Action Column of the List Datasets Window (for the required marker dataset of a group). This will open the Marker Data Window as seen in the image below:
Data can be further filtered and sorted to retrieve more specific data. Visualised data can also be downloaded as an SVG file for further use.
Individual sample/marker squares can also be selected to reveal more information about a sample.
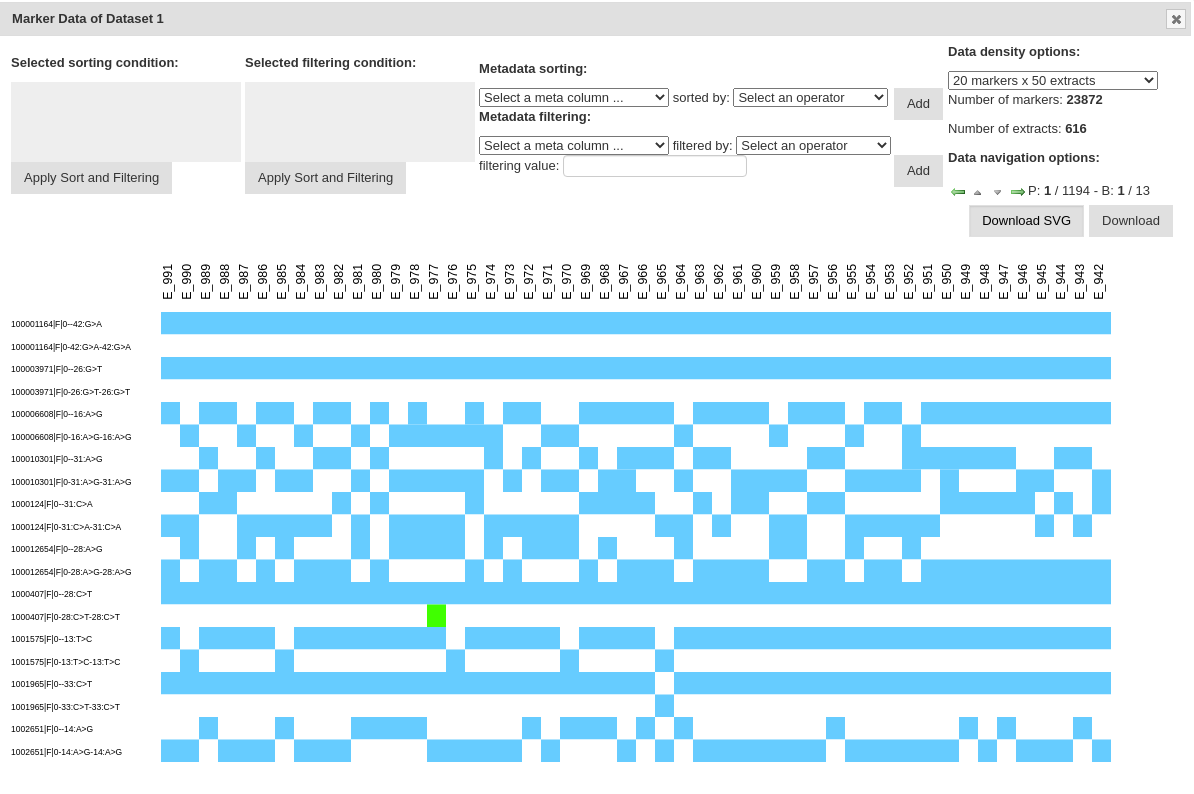
Downloading a Dataset
To download a dataset, select  Download Data in the Action Column of the List Datasets Window (for the required marker dataset of a group). This will open the Download Dataset Window as seen in the image below:
| Field | Description |
|---|---|
| Format Type | The format that the dataset will be downloaded in. In standard installations, this will either be CSV or Flapjack. Extra formats can be added with extra development. |
| Marker Metadata Field List | Chosen marker metadata fields to include in the download. Leave blank to include all. |
| List of DNA Extracts | Chosen DNA Extracts to include in the download. Leave blank to include all. |
| List of Marker | Chosen markers to include in the download. Leave blank to include all. |
| Marker list from CSV | Upload a CSV of markers to filter from. |
| Extract list from CSV | Upload a CSV of extracts to filter from. Use genotype names. |
Data can be further filtered and sorted to retrieve more specific data.
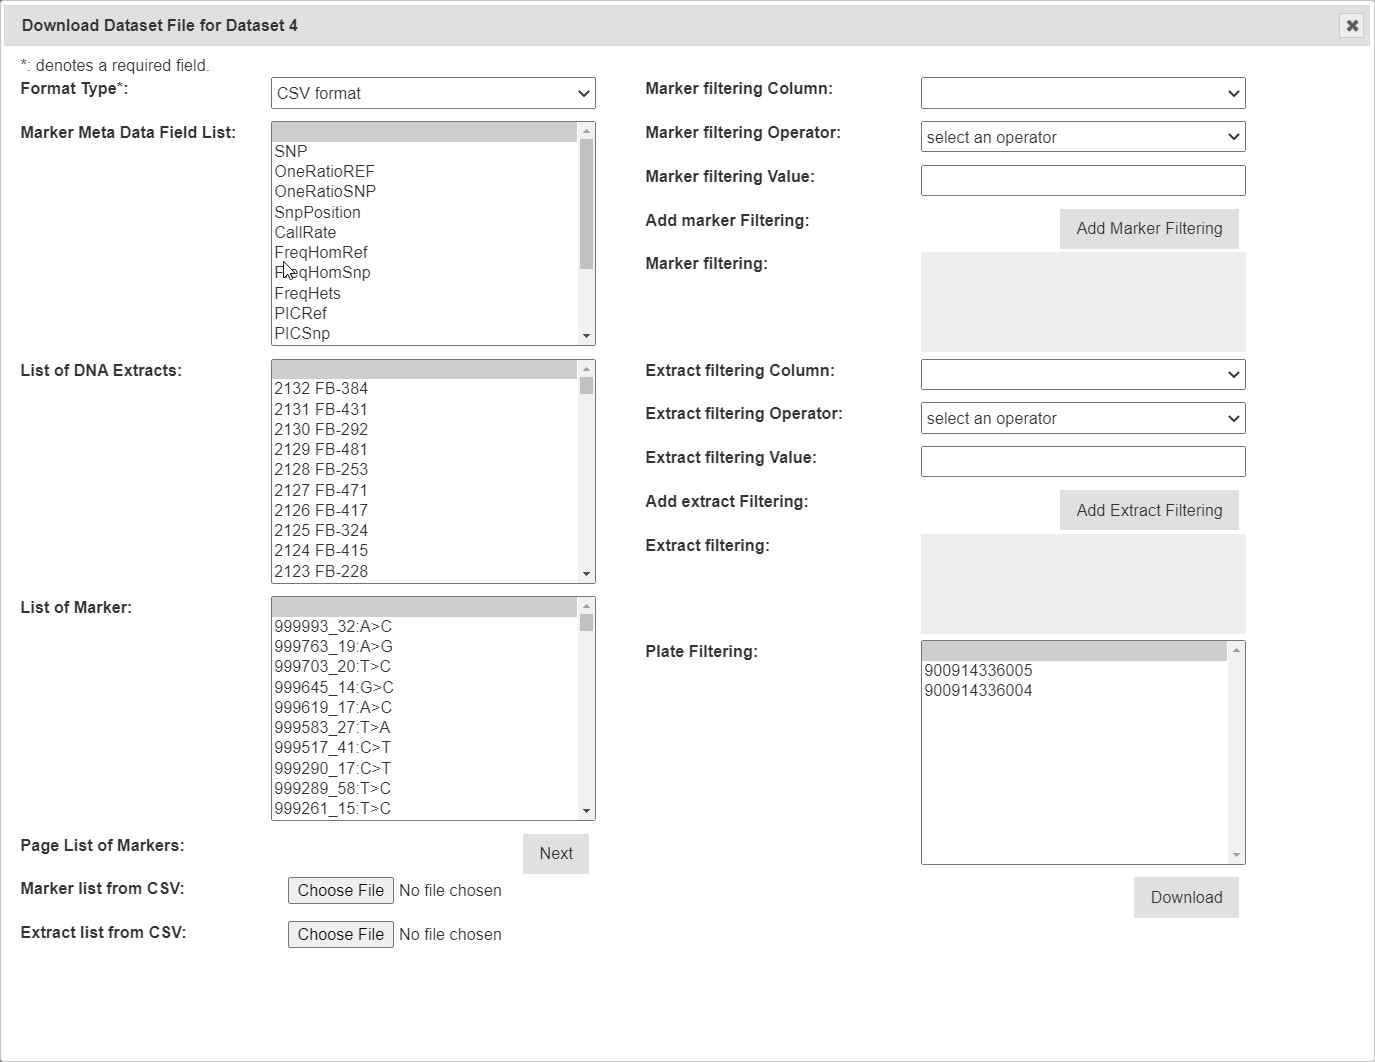
Submitting Samples to a Genotyping Vendor
If KDManage has bee configured with a vendor ID, users will be able to submit samples to the vendor from analysis group plates. To submit, select  Submit Samples in the Actions Column for the required analysis group. That will display the Sample Submissions Window which is shown below, along with a table that explains it’s fields:
| Field | Description |
|---|---|
| BrAPI Genotyping Vendor Base URL | The URL for genotyping vendors. These must be configured by a system administrator. |
| Source Field for Sample ID | How samples will be identified. |
| Authentication Token | Authentication token from vendor. |
Downloading Genotyping Results from a Vendor
If KDManage has bee configured with a vendor ID, users will be able to download genotyping results to the vendor for an analysis group. To submit, select “Download Genotyping result” (under dropdown) in the Action Column for the required analysis group.
Marker Maps
The Marker Maps Page lists marker maps that have been created within KDDart.
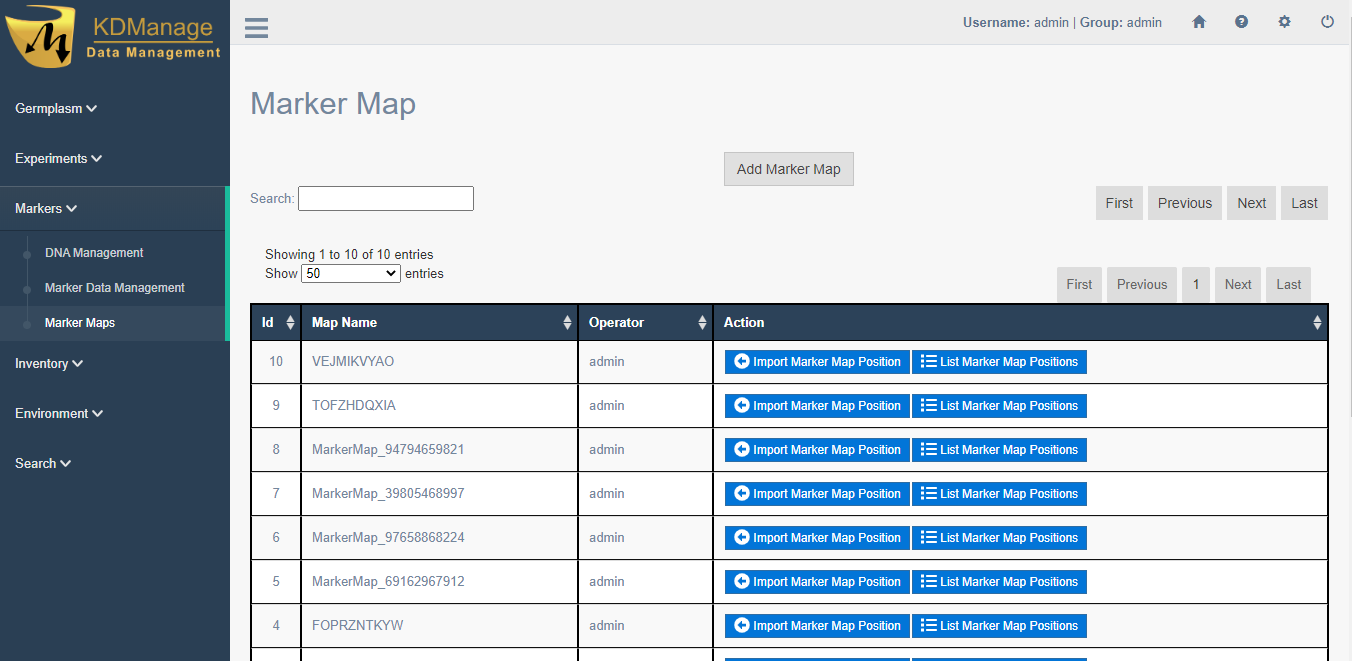
Adding Marker Maps
To add a new marker map, select the Add Marker Map Button located in the Marker Map Page to open the Add Marker Map Window. An image of the window and a table explaining the related fields can be found below:
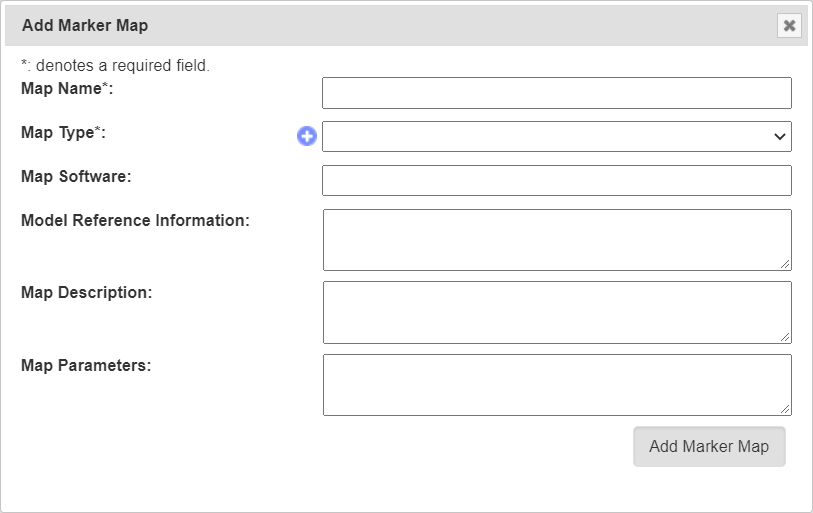
| Field | Mandatory | Description |
|---|---|---|
| Map Name | Mandatory | Text string to describe the marker map. |
| Map type | Mandatory | The type of marker map, as defined in type definitions. |
| Map Software | Name of software used to create map. | |
| Model Reference Information | Model reference information for physical maps. | |
| Map Description | General description of the map. | |
| Map Parameters | Mandatory | Map parameters (also software parameters) used for creation. |
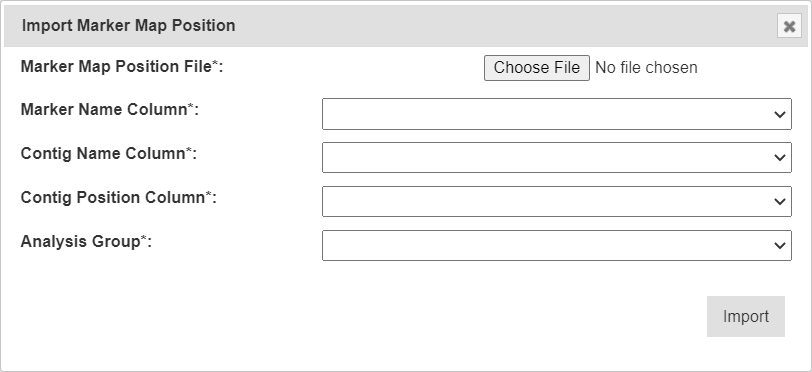
Importing a Marker Map Position
To add a new marker map position, select the  Import Marker Map. This will open the Import Marker Map Position Window which is pictured below, along with a table that details related fields:
Note
For referencing the CSV file contents, column and row numbering commences with zero.
| Field | Description |
|---|---|
| Marker Map Position File | Browse to locate and select the appropriate CSV file for import. |
| Marker Name Column | The column that contains the marker names. Markers must match the ones contained in the selected analysis group. |
| Contig Name Column | The column that contains the contig names |
| Contig Position Column | The column that contains the contig positions |
| Analysis Group | The analysis group associated with uploaded marker map positions. The analysis group must have a least one dataset. |
Tip
After selecting a file to upload, the file contents will be displayed underneath the form. This can be used to refer to the correct columns as required.